Welcome to the world of acrylic painting! Whether you’re a complete beginner or have some experience with other mediums, acrylics offer a versatile and vibrant way to express your creativity.
In this article, we will cover the basics of acrylic painting, including essential supplies, techniques, and tips to help you get started on your artistic journey.
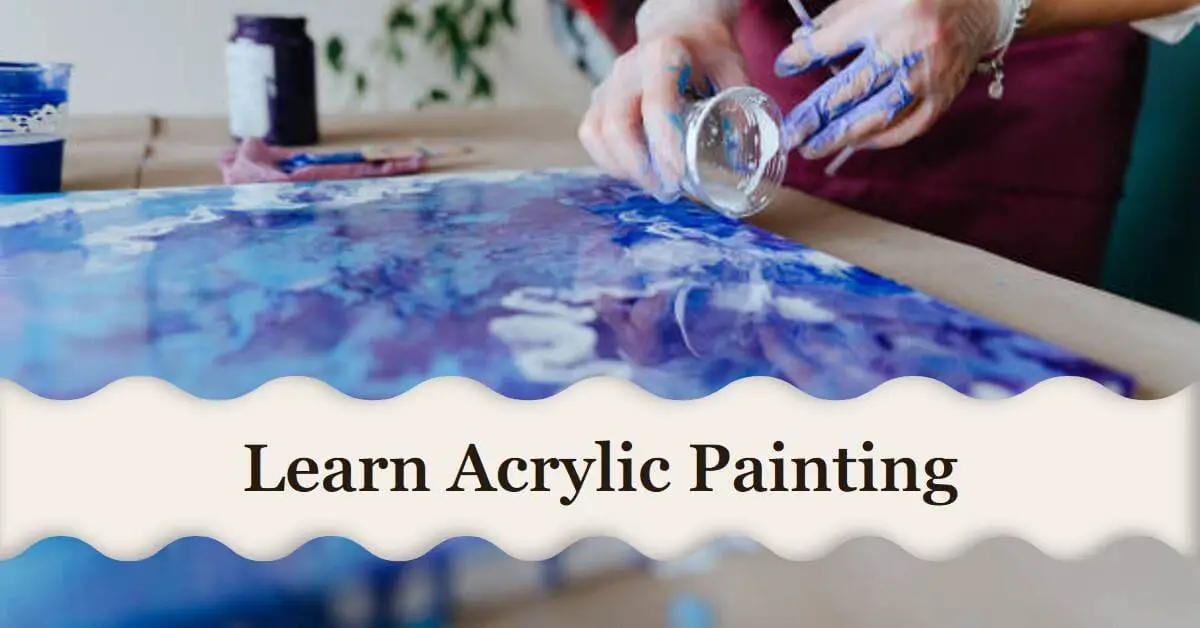
Acrylic Painting Basics
Acrylic painting is a popular form of art that uses water-based acrylic paints. These paints consist of pigments suspended in an acrylic polymer emulsion, resulting in a fast-drying and durable medium.
One of the advantages of acrylics is their ability to be used on a variety of surfaces, including canvas, wood, paper, and more.
Essential Supplies
Before diving into your first acrylic painting project, it’s important to gather the necessary supplies. Here are some essentials you’ll need:
- Acrylic paints: Start with a basic set of primary colors (red, blue, yellow) along with white and black. You can expand your collection as you progress.
- Brushes: Invest in a variety of brushes with different shapes and sizes, such as flat, round, and filbert brushes. This will allow you to create different strokes and textures.
- Palette: A palette provides a surface for mixing and blending your colors. You can use a traditional palette made of plastic or invest in a stay-wet palette to keep your paints moist for longer.
- Canvas or painting surface: Choose a canvas or surface that is suitable for acrylic paints. Stretched canvas, canvas boards, or acrylic paper are common options. Select the size that suits your project.
- Easel: An easel can be helpful for positioning your canvas at a comfortable angle while painting. However, you can also work on a flat surface if preferred.
- Palette knife: A palette knife is useful for mixing colors and creating textured effects. It allows you to apply paint in a thick and impasto manner.
- Water container: Keep a container of water nearby to rinse your brushes between color changes and to adjust the consistency of your paints.
- Paper towels or rags: These are handy for cleaning brushes, wiping off excess paint, and creating different textures.
- Masking tape: Masking tape can be used to create clean edges and protect certain areas of your painting.
- Varnish: Consider getting a varnish to protect and enhance the final appearance of your painting. It adds a protective layer and can give a glossy or matte finish.
Setting Up Your Workspace
Creating a dedicated workspace for your acrylic painting endeavors can enhance your overall experience. Here are some tips for setting up your workspace:
- Find a well-ventilated area with good lighting: Adequate ventilation is important when working with acrylic paints. Ensure there is ample natural or artificial light to see your colors accurately. Natural light is preferred as it provides a true representation of colors.
- Protect your work area: Lay down a drop cloth, plastic sheet, or newspaper to prevent any accidental paint spills or stains on your working surface. This will make clean-up easier.
- Organize your supplies: Arrange your paints, brushes, and other materials within easy reach. Consider using containers, brush holders, or a toolbox to keep your supplies organized and accessible. This will save you time and keep your workspace tidy.
- Comfortable seating: Choose a comfortable chair or stool to sit on while painting. It’s important to maintain good posture and be at ease during your creative sessions.
- Adequate storage: If possible, have storage space nearby to keep your art supplies organized and easily accessible. This can be a cabinet, shelf, or drawer dedicated to your art materials.
Understanding Acrylic Paints
Acrylic paints offer a wide range of colors and properties that allow for various techniques and effects. Here are some key characteristics to understand about acrylic paints:
- Opacity: Acrylic paints can range from transparent to opaque. Understanding the opacity of your colors will help you plan your painting layers accordingly. Transparent colors are useful for glazing and layering, while opaque colors provide solid coverage.
- Drying time: Acrylic paints dry quickly, allowing you to layer and work on your painting without extended waiting periods. However, this also means you need to work efficiently and keep your paints moist while painting. Consider using a palette with a lid or a misting spray bottle to keep your paints from drying out too quickly.
- Color mixing: Acrylic paints can be easily mixed to create an array of colors. Experiment with primary colors to achieve the desired hues and tones. Start with small amounts of paint and gradually add more until you reach the desired color. Remember to clean your brush between color mixtures to avoid muddying the colors.
Read Also:
Mixing Colors
Mixing colors is an essential skill in acrylic painting. Here are some tips to help you get started:
- Start with the primary colors: Begin by mixing the primary colors (red, blue, yellow) to create secondary colors (orange, green, purple). Understanding color theory and the color wheel can be helpful in creating harmonious color combinations.
- Gradually add white or black: Adjust the brightness or darkness of your colors by adding small increments of white or black paint. This is known as tinting (adding white) or shading (adding black).
- Experiment and practice: Don’t be afraid to experiment with different color combinations. The more you practice, the better you’ll become at achieving the desired shades and tones. Keep a color mixing journal or swatch chart to record your mixtures for future reference.
Read Also:
Preparing the Canvas
Before you start painting, it’s important to prepare your canvas or painting surface. Follow these steps:
- Prime the canvas: If you’re working with a raw canvas, apply a layer of acrylic gesso to prime it. This helps create a smooth and stable surface for your paints. Gesso also prevents the paint from seeping into the canvas fibers.
- Sketch your subject: Use a pencil to lightly sketch the outline of your subject on the canvas. This will serve as a guide when applying your paint layers. You can also use an erasable colored pencil that matches the color of your subject for a more accurate representation.
- Masking areas: If you want to keep certain areas of your canvas free from paint, use masking tape to create clean edges or cover specific regions. This technique is particularly useful when painting precise shapes or working on intricate details.
Applying the Base Layer
Once your canvas is prepared, it’s time to apply the base layer of paint. This layer sets the foundation for your artwork. Here’s how:
- Thin your paint: Dilute your acrylic paint with water or a specialized acrylic medium to create a more fluid consistency. This will make it easier to cover the canvas and achieve a smooth application.
- Apply the base color: Use a large brush to cover the canvas with the base color of your subject. Work in broad strokes, overlapping slightly to ensure even coverage. Don’t worry about details at this stage; focus on creating an even and smooth application.
- Multiple layers: Depending on the opacity of your paint and the desired effect, you may need to apply multiple layers. Allow each layer to dry before adding the next. This helps build depth and intensity in your painting.
- Blending and transitions: If you’re creating a background or want to transition between colors, use a dry brush or a wet-on-wet technique. A dry brush will create a more subtle effect, while wet-on-wet blending allows colors to mix directly on the canvas.
Layering and Blending
Layering and blending are important techniques in acrylic painting. They allow you to build depth, create transitions, and achieve realistic effects. Follow these steps:
- Start with the background: Work from the background to the foreground. This approach helps create a sense of depth and perspective in your painting. Layer your paints, allowing each layer to dry before adding the next.
- Use thin layers: Apply thin layers of paint rather than thick, heavy applications. This allows for better control and smoother blending. Thicker layers may take longer to dry and can result in a textured appearance.
- Wet-on-dry blending: If you want to blend colors that have already dried, use the wet-on-dry blending technique. Apply a small amount of the desired color next to the area you want to blend, then use a clean brush to gently feather and blend the colors together.
- Dry brush technique: The dry brush technique involves using a brush with minimal paint and dragging it lightly across the surface. This technique creates texture and can be useful for adding details or texture to objects like tree bark or hair.
Read Also:
Wall Painting Techniques Sponging
Creating Textures
Acrylic paints can be manipulated to create textures and add dimension to your artwork. Here are some techniques to experiment with:
- Impasto technique: Apply thick layers of paint with a palette knife to create raised textures. This technique works well for creating textured surfaces such as tree bark, rocks, or impasto floral elements.
- Sgraffito technique: Scratch into wet paint with a tool, such as the end of a brush or a palette knife, to reveal underlying layers or create fine details. This technique is effective for creating textures like fur, grass, or intricate patterns.
- Stippling technique: Use a stippling brush or the tip of a bristle brush to create a textured effect by dabbing or stippling the paint onto the canvas. This technique is great for adding texture to foliage, clouds, or rough surfaces.
Adding Details
As you progress with your acrylic painting, it’s time to add finer details to your artwork. Here are some tips:
- Use smaller brushes: Switch to smaller brushes, such as round or liner brushes, to paint details such as facial features, fine lines, or intricate patterns. Make sure to clean your brushes thoroughly between color changes to avoid muddying the colors.
- Take breaks and step back: Regularly take breaks and step back from your painting to assess the overall composition and details. This allows you to identify areas that may need adjustments or additional details.
- Gradual buildup: Layer your details gradually, starting with the larger shapes or elements and gradually adding finer details. This approach helps maintain proportion and balance in your artwork.
Tips for Beginner Painters
Here are some additional tips to help you on your acrylic painting journey:
- Practice and experiment: Don’t be afraid to try new techniques, color combinations, and subject matters. Practice regularly to improve your skills.
- Seek inspiration: Look for inspiration in nature, art books, galleries, or online resources. Analyze other artists’ works to learn and develop your unique style.
- Learn from mistakes: Mistakes happen, and they are part of the learning process. Embrace them as opportunities to grow and improve.
Read Also:
Do it Yourself Wall Painting Designs Tips & Techniques
Conclusion
Acrylic painting is a rewarding and accessible form of art for beginners.
By understanding the basics, gathering the necessary supplies, and practicing different techniques, you can unleash your creativity and create beautiful artwork.
Remember to experiment, seek inspiration, and have fun on your artistic journey.


