Do you want to add a personal touch to your home decor? Are you looking for creative ways to transform your walls into stunning works of art?
Painting your walls with unique designs can bring a new level of charm and personality to any room. The best part is, you don’t have to be a professional artist to achieve beautiful results.
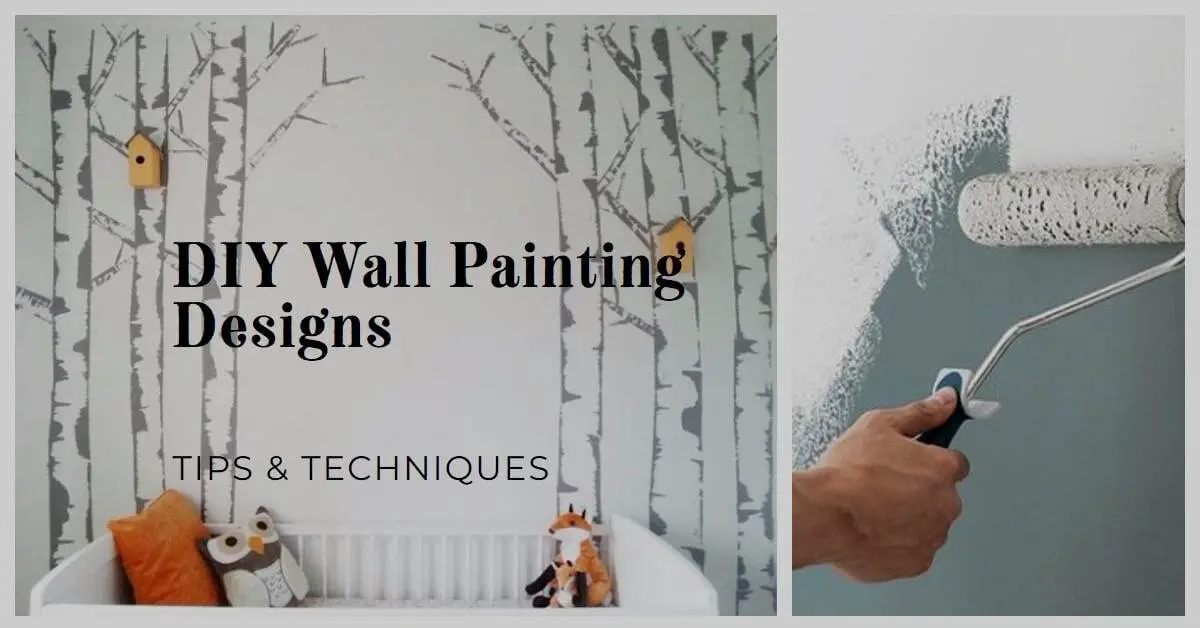
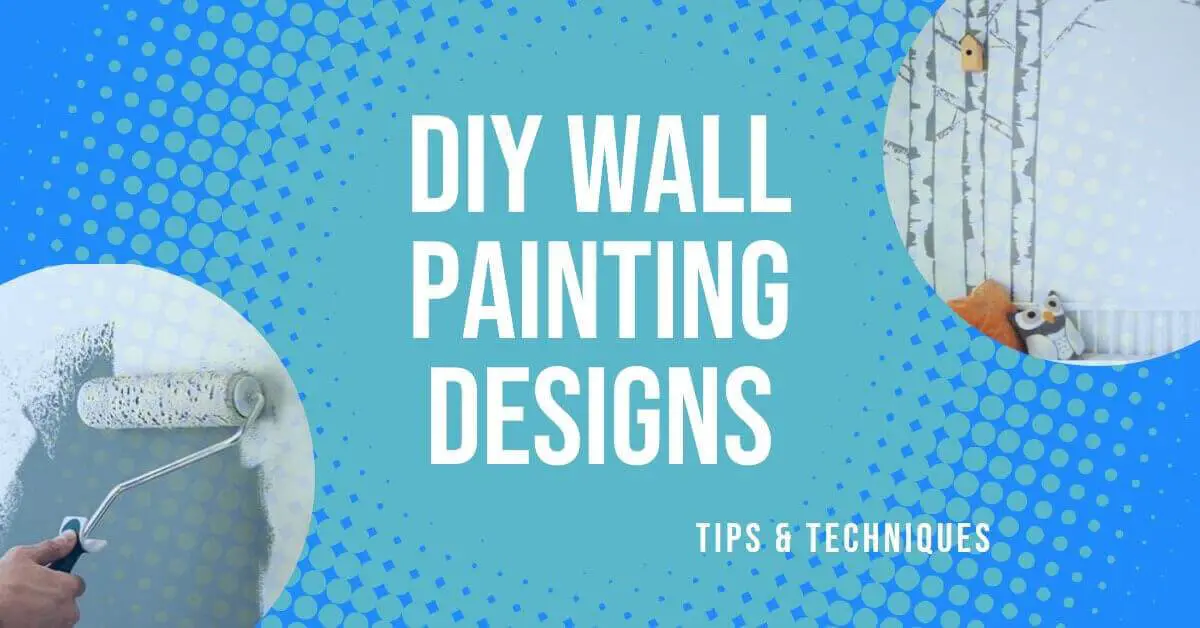
With some guidance and a little creativity, you can create your own DIY wall painting designs.
In this article, we will provide you with step-by-step tips and techniques to help you unleash your inner artist and create a masterpiece on your walls.
When it comes to home decor, DIY projects have become increasingly popular among homeowners.
There’s something incredibly satisfying about creating personalized designs and adding a touch of your own creativity to your living space.
DIY wall painting designs offer an excellent opportunity to express your style and create a unique ambiance in your home.
Not only does it give you the freedom to customize your walls, but it also allows you to explore your artistic side.
How to Do Wall Painting Designs Yourself
Choosing the Right Paint
Before diving into your wall painting project, it’s crucial to select the right type of paint. Different paint finishes offer various textures and effects, so it’s essential to choose one that suits your desired design.
Consider factors such as durability, washability, and the overall aesthetic you want to achieve.
Think about the color scheme of your room and select paint colors that complement the existing decor.
Preparing the Walls
Proper preparation is key to achieving a professional-looking wall painting design. Start by cleaning the walls to remove any dirt, dust, or grease.
Next, sand the surface to create a smooth canvas for your paint. Finally, apply a coat of primer to ensure better adhesion and a more even finish.
Taking the time to prepare your walls will ensure that your design looks flawless and lasts for years to come.
Selecting the Design
When it comes to DIY wall painting designs, the possibilities are endless. Take some time to explore different design ideas and find inspiration that resonates with your personal style.
Whether you prefer geometric patterns, nature-inspired motifs, or abstract art, there’s a design out there that will suit your taste.
Consider the size and shape of your walls when selecting a design to ensure it fits the space perfectly.
Gathering the Tools and Materials
To bring your wall painting design to life, you’ll need the right tools and materials. Gather items such as paintbrushes, rollers, painter’s tape, drop cloths, and stencils.
Quality tools will make the painting process smoother and help you achieve more precise results.
Choose high-quality paints that provide good coverage and vibrant colors for the best outcome.
Preparing the Paint
Once you have your paint, it’s essential to prepare it correctly before starting your project. Make sure to stir the paint thoroughly to ensure a consistent color throughout.
If needed, add a small amount of water or paint conditioner to achieve the desired consistency.
Following the manufacturer’s instructions is crucial to ensure the best performance of your chosen paint.
Testing the Design
Before committing to your design on the entire wall, it’s a good idea to test it on a small area first. This allows you to see how the colors and patterns work together and make any necessary adjustments before moving forward.
Testing also helps you gain confidence in your design choices and ensures that you’re happy with the overall effect before investing time and effort into the full project.
Read Also:
25 Wall Painting Ideas to Transform Your Space
Applying the Base Coat
Start by applying a base coat of paint to your walls. This serves as the foundation for your design and provides a uniform background color. Use a roller for larger areas and a brush for corners and edges.
Apply the paint evenly, ensuring that there are no visible brush strokes or roller marks. Allow the base coat to dry completely before moving on to the next steps.
Creating Patterns and Textures
One of the exciting aspects of DIY wall painting designs is the ability to create unique patterns and textures.
Experiment with different techniques like sponging, ragging, or combing to add depth and visual interest to your walls.
These techniques can create stunning effects that mimic the look of wallpaper or textured surfaces. Practice the techniques on a test surface first to get comfortable before applying them to the walls.
Using Stencils
Stencils are a fantastic tool for creating intricate designs with ease. They allow you to achieve precise shapes and patterns without the need for advanced artistic skills.
Choose stencils that match your desired design and secure them firmly to the wall using painter’s tape.
Use a brush or sponge to apply paint within the stencil, ensuring clean edges and consistent results. Stencils are versatile and can be used for various design elements, from borders to focal points.
Adding Accents and Details
To take your wall painting design to the next level, consider adding accents and details. Faux finishes, metallic paints, and contrasting colors can bring depth and dimension to your walls.
Use these techniques to highlight specific areas of your design or create eye-catching focal points. Accents and details add a unique touch to your walls and showcase your creativity.
Applying Multiple Colors
Don’t be afraid to experiment with multiple colors in your wall painting design. By using different hues and shades, you can create visually captivating effects and add a sense of richness to your walls.
Blend colors seamlessly or create bold contrasts for a striking impact.
Consider using color gradients or ombre effects to achieve a smooth transition between shades. The key is to maintain a harmonious color scheme that complements the overall aesthetics of the room.
Cleaning Up
Once you’ve completed your wall painting design, it’s time to clean up the area. Remove any painter’s tape carefully and touch up any areas that require additional attention.
Clean your brushes, rollers, and other tools thoroughly with soap and water or according to the manufacturer’s instructions.
Proper clean-up ensures the longevity of your tools and allows you to enjoy the fruits of your labor without any mess.
Tips and Techniques for Beginners
If you’re new to DIY wall painting designs, here are some additional tips to help you get started:
- Start with simpler designs and gradually progress to more complex ones as you gain confidence.
- Stay organized by keeping your tools and materials neatly arranged and easily accessible.
- Seek inspiration from online resources, home decor magazines, or even nature itself.
- Don’t be afraid to make mistakes; they can often lead to unexpected and beautiful outcomes.
- Practice and patience are key. Allow yourself to enjoy the process and learn from each painting experience.
Conclusion
In conclusion, DIY wall painting designs offer an exciting way to personalize your home decor and unleash your creativity.
With the right tools, materials, and techniques, you can transform your walls into stunning works of art.
Whether you prefer bold and vibrant designs or subtle and elegant patterns, there’s a wall painting design out there that will suit your style.
Embrace the joy of creating something unique and make your living space truly one-of-a-kind.


