Wall painting techniques play a vital role in transforming the ambiance and aesthetics of any space. When it comes to adding texture and depth to walls, the sponging technique is a popular choice.
This article explores the art of sponging and how you can master this versatile technique to create stunning wall finishes that elevate the overall look of your home or office.
Understanding Sponging Technique
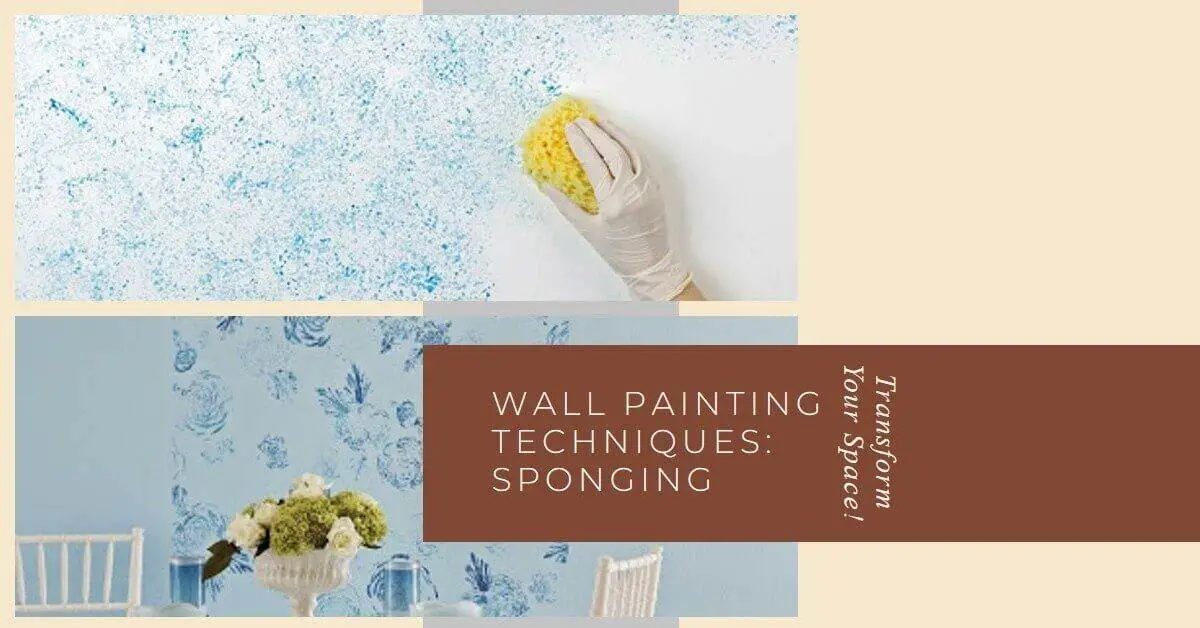
The sponging technique involves applying paint to the walls using a sponge instead of a brush or roller.
This method creates a unique and textured effect that mimics the natural variations found in materials like stone or clouds.
The main purpose of sponging is to add visual interest and depth to a room, making it a great option for accent walls or feature areas.
Sponging offers several benefits over traditional painting methods. It allows for easy blending of colors, hides imperfections on the wall surface, and adds a tactile element to the room.
Moreover, it is a relatively simple and affordable technique that can be accomplished by both beginners and experienced DIY enthusiasts.
Read Also:
DIY Wall Painting Design Ideas
Tools and Materials
To get started with sponging, you will need a few essential tools and materials. Sponging tools can range from natural sea sponges to synthetic sponges with different textures.
It is important to choose the right sponge based on the desired effect and the size of the area you plan to cover.
In addition to sponges, you will need paint that is suitable for sponging, such as latex or acrylic-based paints.
These paints provide good coverage and are easy to work with during the sponging process.
Other materials include painter’s tape, drop cloths, a paint tray, and a paintbrush for cutting in corners and edges.
Preparing the Surface
Before sponging, it is crucial to prepare the surface properly. Start by cleaning the wall to remove any dirt, grease, or loose particles.
If there are any cracks or holes, fill them with spackling compound and sand the surface smoothly. Once the wall is clean and dry, apply a primer to create a smooth base for the paint.
Choosing the Right Sponge
Different types of sponges can create varying effects. Natural sea sponges are commonly used for their irregular texture and ability to hold and release paint effectively.
Synthetic sponges, on the other hand, offer more consistency and control. When selecting a sponge, consider factors such as size, texture, and the pattern you want to achieve.
Selecting Paint Colors
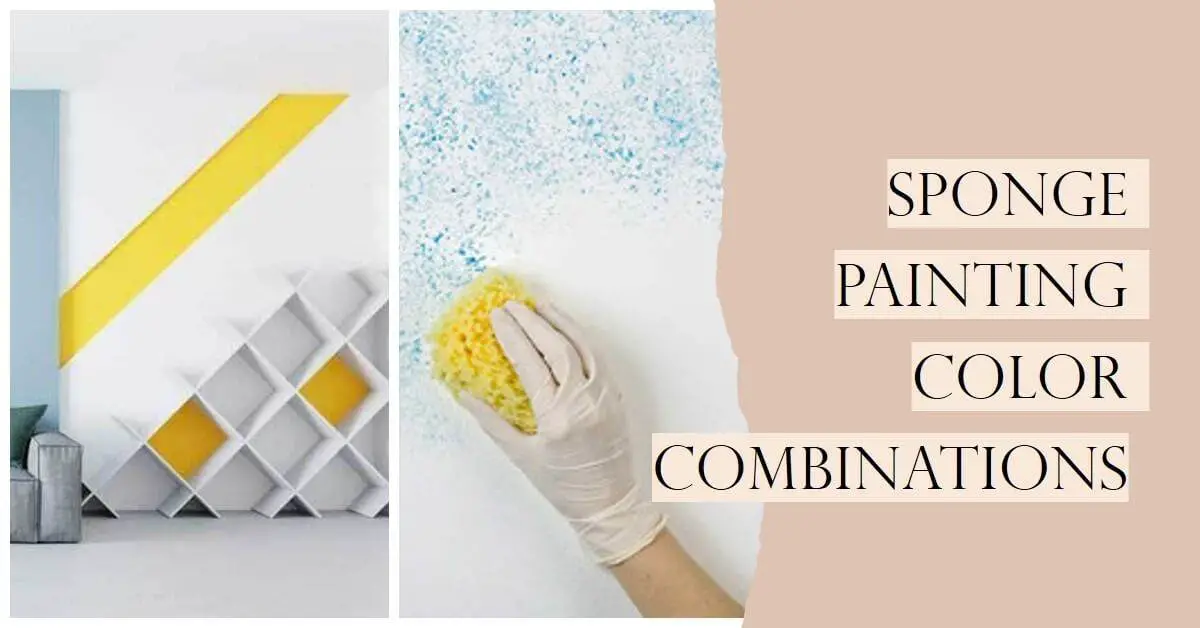
Choosing the right paint colors is crucial for achieving the desired look. When using the sponging technique, it is recommended to select two or more complementary colors to create depth and dimension.
Harmonizing color choices with the existing decor or color scheme of the room is important to ensure a cohesive and visually pleasing result.
Read Also:
Sponging Techniques
The basic sponging technique involves loading the sponge with paint and dabbing it onto the wall in a random or organized pattern.
This creates a textured effect with subtle variations in color and intensity. Advanced sponging techniques include stippling, swirling, and dragging the sponge to create different patterns and textures.
Step-by-Step Guide to Sponging
To achieve successful sponging results, follow these step-by-step instructions:
- Prepare your workspace by laying down drop cloths and protecting adjacent surfaces with painter’s tape.
- Apply a base coat of paint using a roller or brush and let it dry completely.
- Dip the sponge into the paint, ensuring it is evenly loaded but not saturated.
- Test the sponge on a sample board or a hidden area of the wall to check the color intensity and texture.
- Begin sponging the wall using light to medium pressure, working in small sections at a time.
- Blend and layer the colors by overlapping the sponge impressions, varying the angles and pressure.
- Step back occasionally to assess the overall look and make adjustments if needed.
Tips for Successful Sponging
To achieve the best results with sponging, keep these tips in mind:
- Work in small sections to maintain control and prevent the paint from drying too quickly.
- Experiment with different sponge textures and sizes to create interesting patterns and effects.
- Vary the pressure and motion while sponging to achieve different intensities and textures.
- Practice on a sample board or spare wall before tackling the main area.
Care and Maintenance of Sponges
After each use, it is important to clean the sponge properly to maintain its effectiveness and prolong its lifespan.
Rinse the sponge thoroughly with warm water and mild soap, squeezing out the excess paint until the water runs clear.
Allow the sponge to air dry completely before storing it in a cool, dry place.
Alternative Uses of Sponging Technique
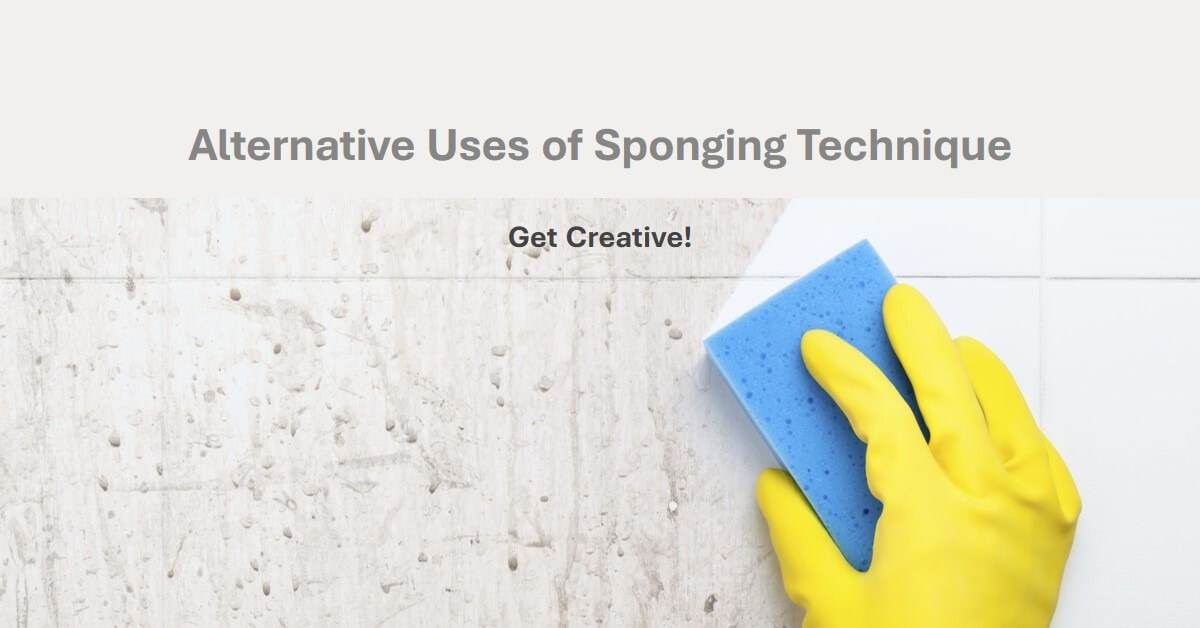
While sponging is commonly used for walls, it can also be applied to furniture and decor items to create a cohesive look.
Sponging can add texture to wooden furniture, lampshades, or picture frames, transforming them into unique pieces.
It is possible to incorporate sponging into textile and fabric designs, such as curtains, pillows, or tablecloths, for a coordinated aesthetic.
Common Mistakes to Avoid
When sponging, it is important to avoid common mistakes that can impact the final result:
- Over-sponging or under-sponging can lead to an inconsistent or unnatural look.
- Inconsistency in pressure and motion, resulting in uneven patterns or color distribution.
Inspiration and Ideas
Sponging opens up a world of creative possibilities. Consider experimenting with different patterns, such as clouds, waves, or faux stones.
Combining sponging with other techniques like stenciling or ragging can create even more intricate designs and effects.
Pros and Cons of Sponging Technique
The sponging technique offers several advantages, such as easy blending of colors, forgiving nature for minor imperfections, and the ability to create unique textures.
It also has limitations, including the potential for an inconsistent finish and the challenge of achieving uniformity in large areas.
Conclusion
Mastering the art of sponging allows you to create visually stunning wall finishes that add depth and character to any space.
With the right tools, materials, and techniques, you can achieve beautiful and professional-looking results.
Whether you’re a beginner or an experienced DIY enthusiast, sponging offers endless creative possibilities to transform your walls and elevate the ambiance of your home or office.
So, grab a sponge and start exploring the world of sponging techniques to unleash your creativity!


