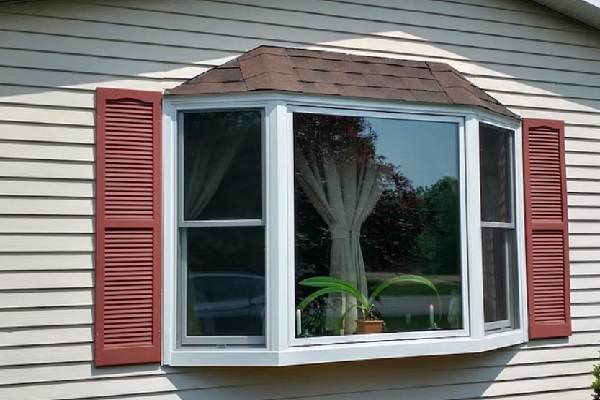
Bay windows are a timeless and elegant addition to any home. They add a touch of character and charm, as well as provide ample natural light and beautiful views.
However, over time, the exterior of your bay window may become worn or outdated, affecting its appearance and overall curb appeal. In this article, we will guide you through the process of updating the exterior of your bay window, step-by-step.
Materials and Tools
The materials and tools you will need to update the exterior of your bay window will vary depending on the type of update you are planning. For a simple paint job, you will need:
- Primer
- Paint
- Paintbrushes or roller
- Paint tray
- Painter’s tape
- Sandpaper
- Drop cloths or plastic sheeting
If you are planning to replace the window trim, you will need:
- New window trim
- Nails or screws
- Power drill or screwdriver
- Level
- Saw
- Chalk line
- Caulk
- Caulk gun
Assessing the Condition of Your Bay Window Exterior
Before you start any renovations, it’s important to assess the condition of your bay window exterior. Look for any signs of damage, such as rot, cracks, or peeling paint, and make a list of any repairs that need to be made. If the damage is extensive, it may be necessary to replace the entire bay window, but in most cases, a simple update will suffice.
Cleaning the Bay Window Exterior
The first step in updating your bay window exterior is to give it a good cleaning. This will help you see the true condition of the window and prepare the surface for any repairs or renovations. Use a mild soap and water solution, and scrub the window gently with a soft brush. Be sure to rinse thoroughly and allow the window to dry completely before proceeding.
Repairing Any Damage
If you have identified any damage to your bay window exterior, it’s important to make any necessary repairs before proceeding with your update. This may include filling in any cracks or holes, replacing any damaged wood, or patching any peeling paint.
Choosing the Right Paint or Stain
Once the window is clean and any repairs have been made, it’s time to choose the right paint or stain for your bay window exterior. Consider the style and color of your home, and choose a paint or stain that complements it. If you have an older home with a classic look, consider using a traditional paint color or a classic wood stain. If your home has a more contemporary look, opt for a bold, modern color or a sleek, clear stain.
Preparing the Surface
Before you start painting or staining, it’s important to prepare the surface of your bay window. This may include sanding down any rough spots, filling in any nail holes, or applying a primer to help the paint or stain adhere better. Follow the manufacturer’s instructions carefully, and make sure the surface is clean and free of dust or debris before you start painting or staining.
Applying the Paint or Stain
Once the surface is prepared, it’s time to start painting or staining your bay window. Use a high-quality brush or roller, and apply the paint or stain evenly, taking care to avoid drips or runs. Apply at least two coats, and allow each coat to dry completely before applying the next.
Final Touches
After the paint or stain has dried, it’s time to add any final touches to your bay window exterior. This may include replacing any missing or damaged trim, adding new shutters or blinds, or installing new window boxes or flower pots. The options are endless, so choose the ones that best suit your style and taste.
Conclusion
Updating the exterior of your bay window can have a big impact on the overall appearance and curb appeal of your home. With a little bit of effort and a few basic tools, you can transform your bay window into a beautiful and elegant feature that will be the envy of the neighborhood.


