Painting with polyurethane on a sealed or painted surface is always challenging. One mistake in an application can spoil the look or even ruin the entire project.
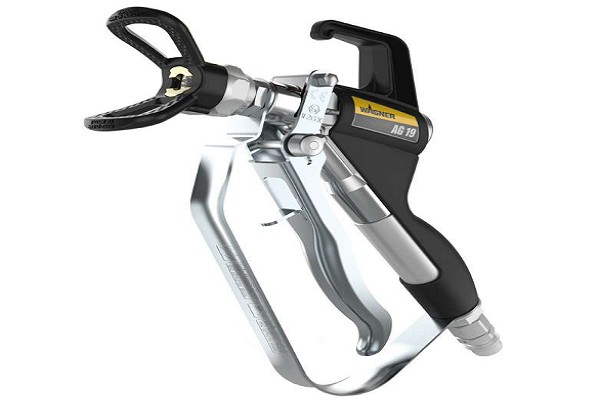
For that, experts recommend Wagner & airless sprayers for applying complex things such as polyurethane.
However, as polyurethane is a liquid plastic, you may find it challenging to apply to your project. For your help, we will let you know a step-by-step guideline on how to spray polyurethane with Wagner & airless sprayer through this context.
Why Do You Need The Airless Sprayer To Spray Polyurethane?
Using a traditional brush or roller to apply polyurethane to your painting area can cause scratches and stains. Besides, some paint sprayer is unable to apply this plastic liquid to the surface.
Compared to brushes, coating polyurethane with an airless sprayer requires less time to dry. So, there is little chance of dust particles falling on your finished piece. Additionally, having the best paint sprayer for polyurethane allows you to control the thickness of the coats. While brushes can turn out messy and leave bubbles on the surface, an airless sprayer gives you quality and finishes coating in less time.
How to Spray Polyurethane With Wagner & Airless Sprayer
Spraying polyurethane on wooden or other surfaces will be easy with the Wagner & airless sprayer. We have demonstrated complete instructions on spraying polyurethane. So, check out the steps discussed below:
Step 1: Set Up The Work Area
First, you need to organize your workplace. So, before starting the painting process, make sure the working area is neat and clean.
Step 2: Preparing The Painting Surface
Before spraying the polyurethane, sanding the surface is another important step. At this stage, you have to make the surface clean and dirt free. If there are any bugs or dirt on the surface, you will not get the perfect finish. So, it is better to clean the surface area with a neat cloth before applying the coat.
Step 3: Mix Thinner To The Polyurethane
Spraying the right amount of polyurethane is the key to gaining a finished project. As polyurethanes need thicker coats, you will need to take the help of thinner.
Step 4: Setting Up The Sprayer
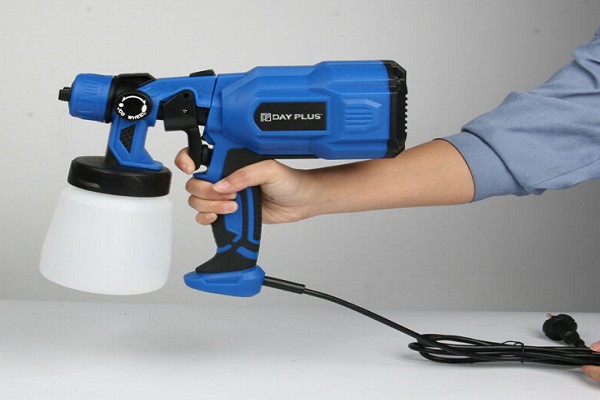
To make a finish coat on your surface with polyurethane, you need a quality sprayer with an adjustable knob.
Step 5: Start Spraying
After properly adding the thinner to polyurethane and adjusting the knob, start spraying on your painting surface.
Step 6: Drying and Cleaning
After properly spraying polyurethanes, let the area dry for some time. Wash the surface with water when it is dry.
Tips To Spray Polyurethane With Wagner & Airless Sprayer
Spraying polyurethane with Wagner & airless sprayer will be effortless if you handle it properly. For your help, here we have pointed out some effective tips for ensuring a finished coat.
- Avoid spraying polyurethane on vertical surfaces because this will not ensure a smooth finish.
- If you apply several coats of polyurethane, don’t spray the next coat until the previous coat is dry properly.
- In case you find any spots on the surface, remove them gently using a sharp razor.
- Make sure your working area has adequate light, so you don’t miss any area and avoid over-spraying on the surface.
- To get the smooth finish, mix the right amount of thinner with the polyurethane.
- Prepare all the safety kits and cleaning tools before you start spraying polyurethane.
- While spraying the polyurethane, you should look at the surface at different angles to get a perfect finish.
- Wear safety gloves and customs while dealing with a sprayer, and also make sure you have the proper mask.
Is An Airless Sprayer Compatible With Both Water-Based Polyurethane And Oil-Based Polyurethane?
There is no doubt that both water and oil-based polyurethane can be used with an airless sprayer. In general, water-based polyurethane makes less toxic and volatile organic compounds than oil-based polyurethane.
Remember, oil-based polyurethanes enhance the color of sprayed dark wood, while water-based polyurethanes are best for light wood.
How Much Thinning Should I Use When Spraying Polyurethane?
Everyone wants a nice finish on a project while working spraying polyurethanes. Sometimes, you may find your desired coating finish without adding thinner. But if you find you need to add thinner, you have to add the right amount.
Otherwise, you will not get your desired finish despite applying several coats. Usually, polyurethanes need to be added at least 10 % thinner before spraying. In some cases, you may have to mix more thinner with polyurethane to get a thin sufficient polyurethane for spray applications.
At What Pressure Do You Spray Polyurethane?
Polyurethane requires spraying at a pressure of 28 PSI. Typically, spray pressure needs to be set between 26 and 29 PSI when applying clear coats like polyurethane. With this pressure, the polyurethane will be atomized on the surface properly.
Conclusion
In summary, you can easily spray polyurethane through an airless sprayer, whether the polyurethane is oil-based or water-based.


